Use the Enter a Trip page to plan via text input.
Note: Your origin and destination may be an address, a specific intersection or exit, or a State border.
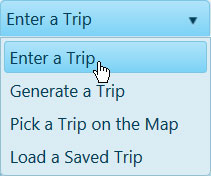
From the Trip Definition drop-down, choose the Enter a Trip option.
The Trip Definition will change, reconfiguring to allow you to define your trip by choosing a start location (or address), identifying points of transition along the way, and designating your destination.
Click the Start radio button then enter the first few characters of the location name. Give the system a few seconds, and it will present you with recognized locations that begin with the characters you’ve entered. Chose from the available options and strike the Enter key to set the point of origin for your trip.
Click the Go To radio button then enter the first few characters of the transition location name. Give the system a few seconds, and it will present you with recognized locations that begin with the characters you’ve entered. Chose from the available options and strike the Enter key to set a transition point for your trip.
Click the End radio button then enter the first few characters of the destination name. Give the system a few seconds, and it will present you with recognized locations that begin with the characters you’ve entered. Chose from the available options and strike the Enter key to set the end point for your trip.
Both the Map and the Defined Trip Locations box display the stages of your trip as you enter them.
Click the Analyze button to have the system evaluate your trip.
Review the results on the Analysis Results & Directions pane.
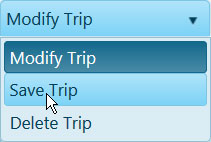
Click the Trip Commands title bar then expand the drop-down and choose the Save Trip option to store a copy of your trip for future use.
Click the Save button to avoid losing your application.

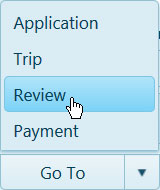
Expand the Go To drop-down on the Features bar and choose Review.